What Happens During a Child's Dental Cleaning
A child’s dental cleaning is a gentle, preventive visit that supports healthy teeth and positive habits. Understanding the process can ease nerves for both kids and parents. Below, you’ll find how to prepare, what happens during the appointment, how our team supports your child, and simple steps for home care afterward.

Before the Appointment: Preparation Tips for Parents
Set an upbeat tone with simple explanations. For toddlers and young children, describe the visit as counting teeth, cleaning with a special toothbrush, and making them shiny. Try a quick role-play at home: practice opening wide, gently counting teeth, and pretending to polish with a soft brush. Avoid words like shot, drill, or pain. For older kids, answer questions honestly and remind them cleanings are quick and help prevent cavities.
Bring a comfort item if it helps, such as a favorite stuffed animal. Have your child’s medical history, medications, and allergies handy, along with your insurance information and any concerns you’ve noticed, like tooth grinding, mouth breathing, or sensitivity.
Choose a time when your child is rested and has had a light meal. Morning visits often work well for younger children. The American Academy of Pediatric Dentistry recommends a first dental visit by age 1 or within six months of the first tooth. Most children benefit from cleanings every six months, though your dentist may adjust timing based on cavity risk or orthodontic needs.
Step-by-Step: What Happens During the Cleaning
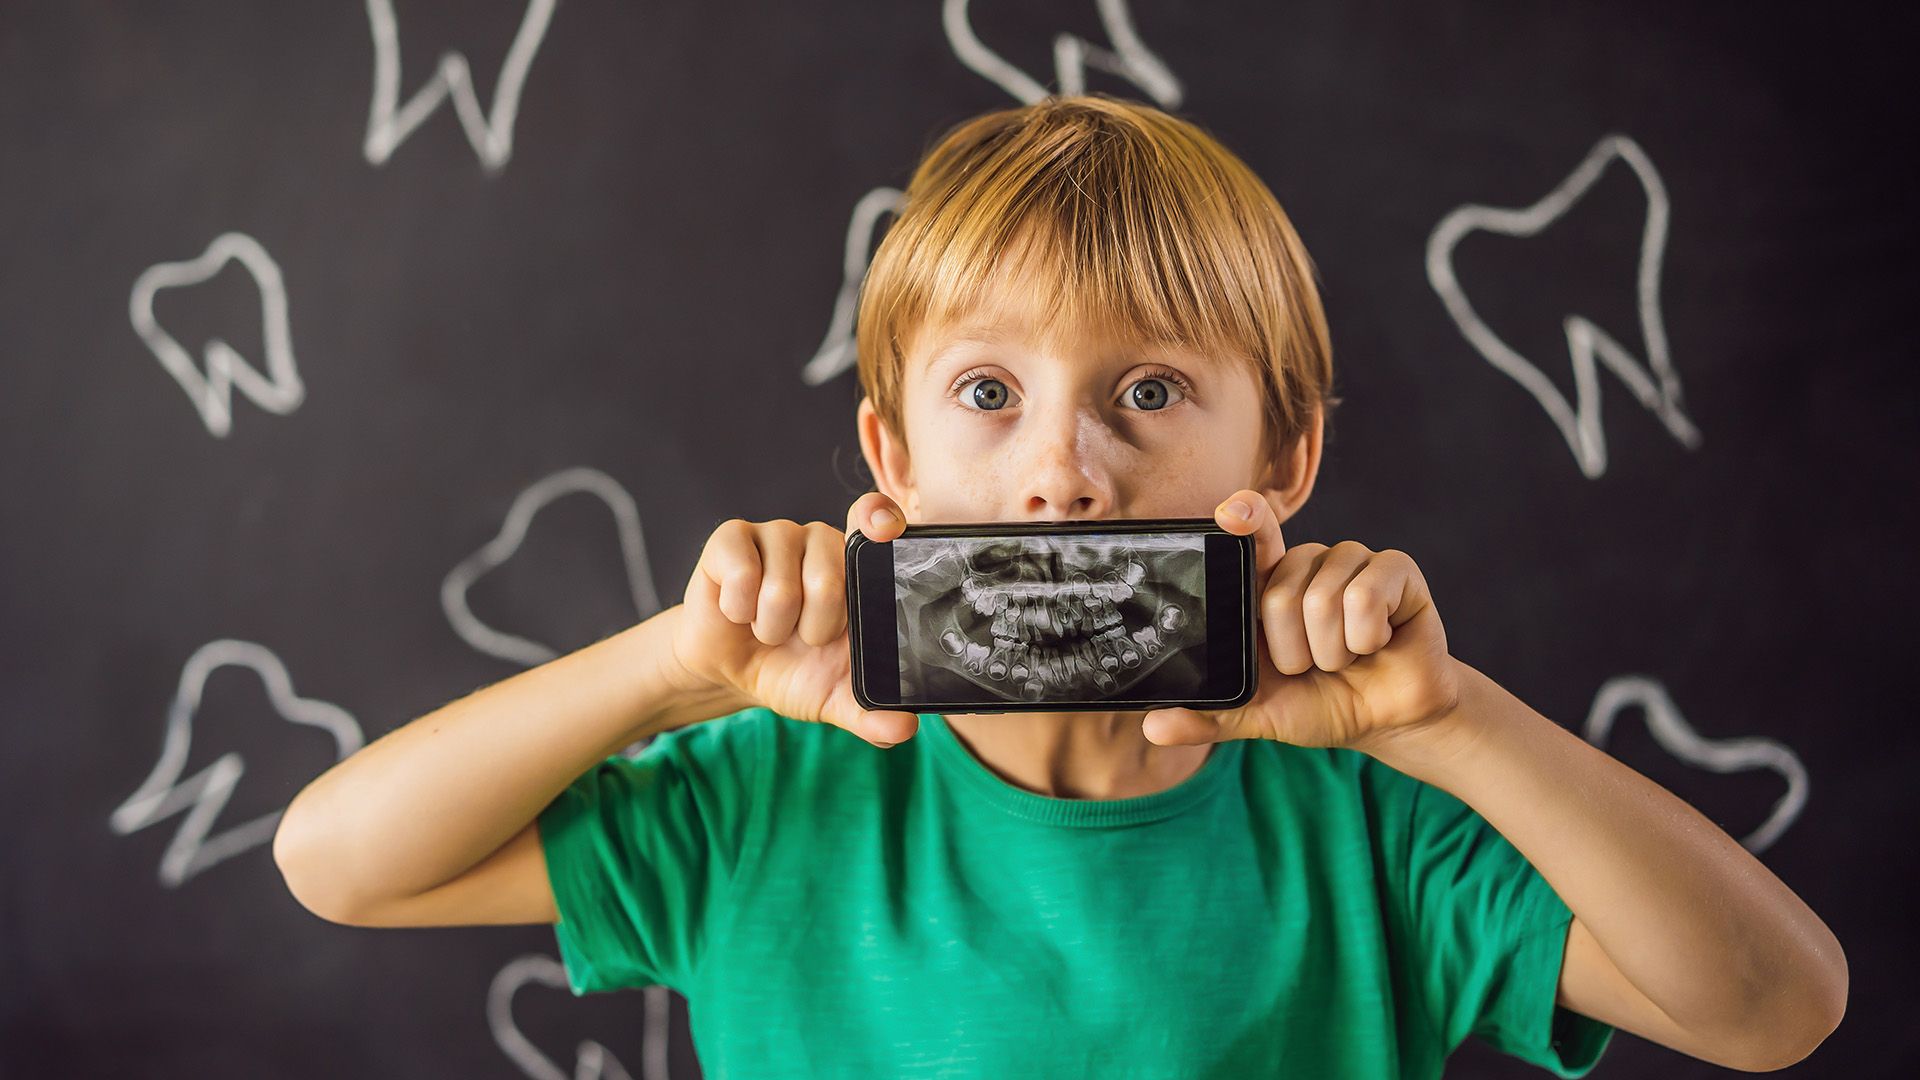
- Initial exam and oral health check: The visit begins with a visual assessment of teeth, gums, and soft tissues. The dentist or hygienist reviews tooth eruption and development, checks your child’s bite, and notes any areas of concern. Depending on age and risk, X-rays may be recommended to evaluate between-teeth decay or tooth development. Findings are shared in clear, age-appropriate terms.
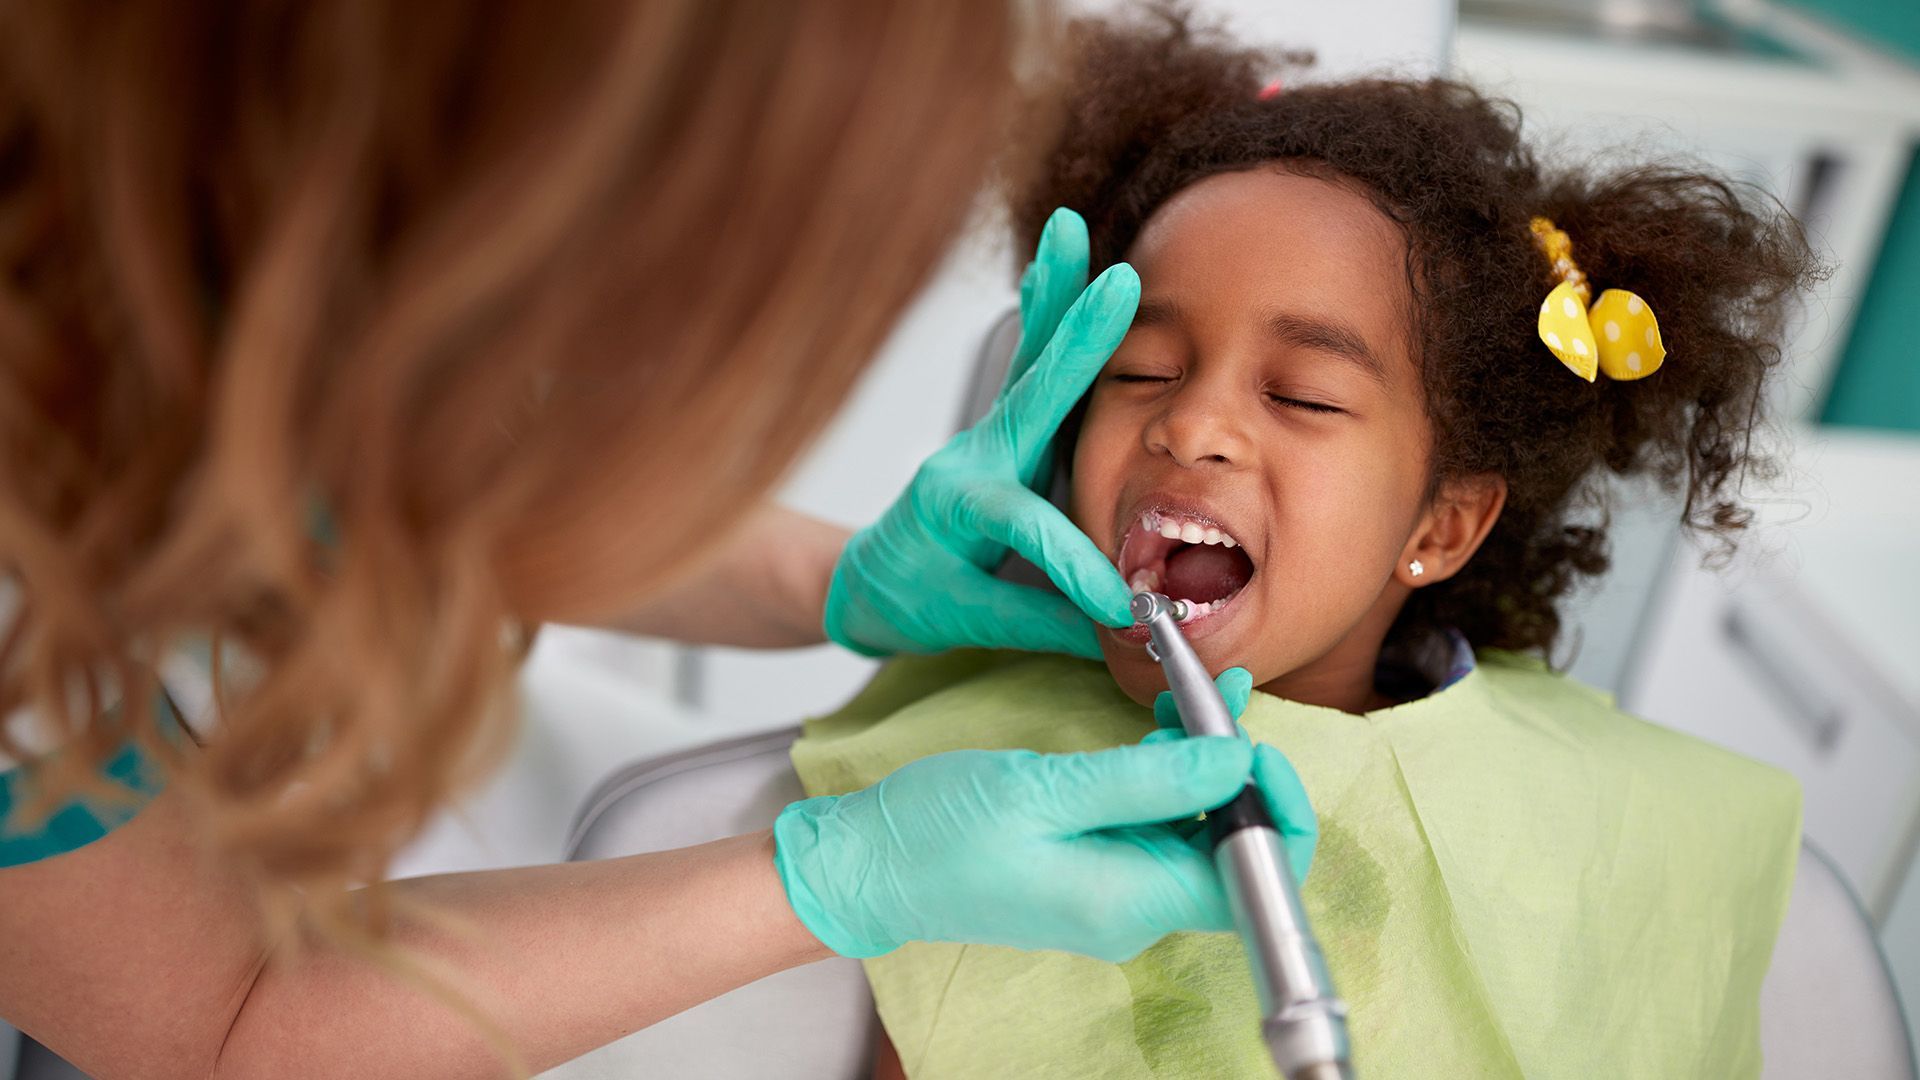
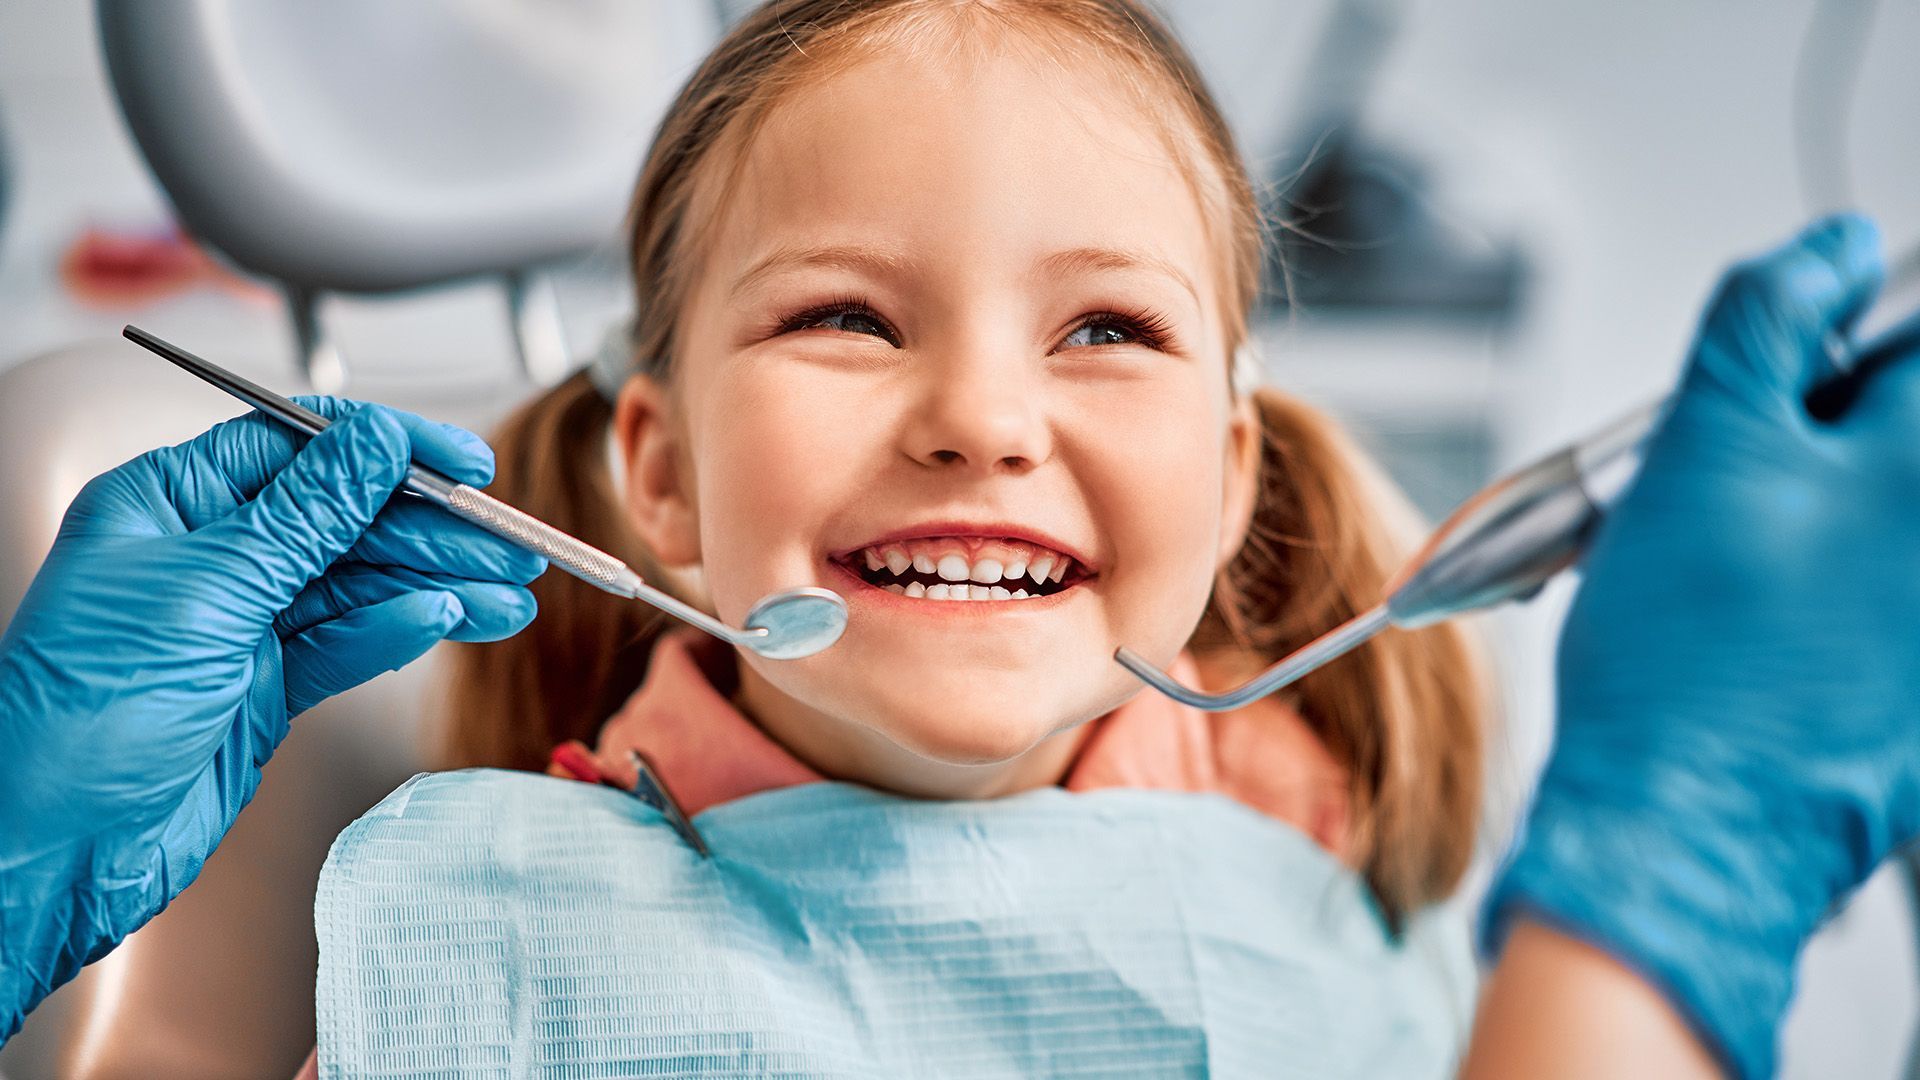
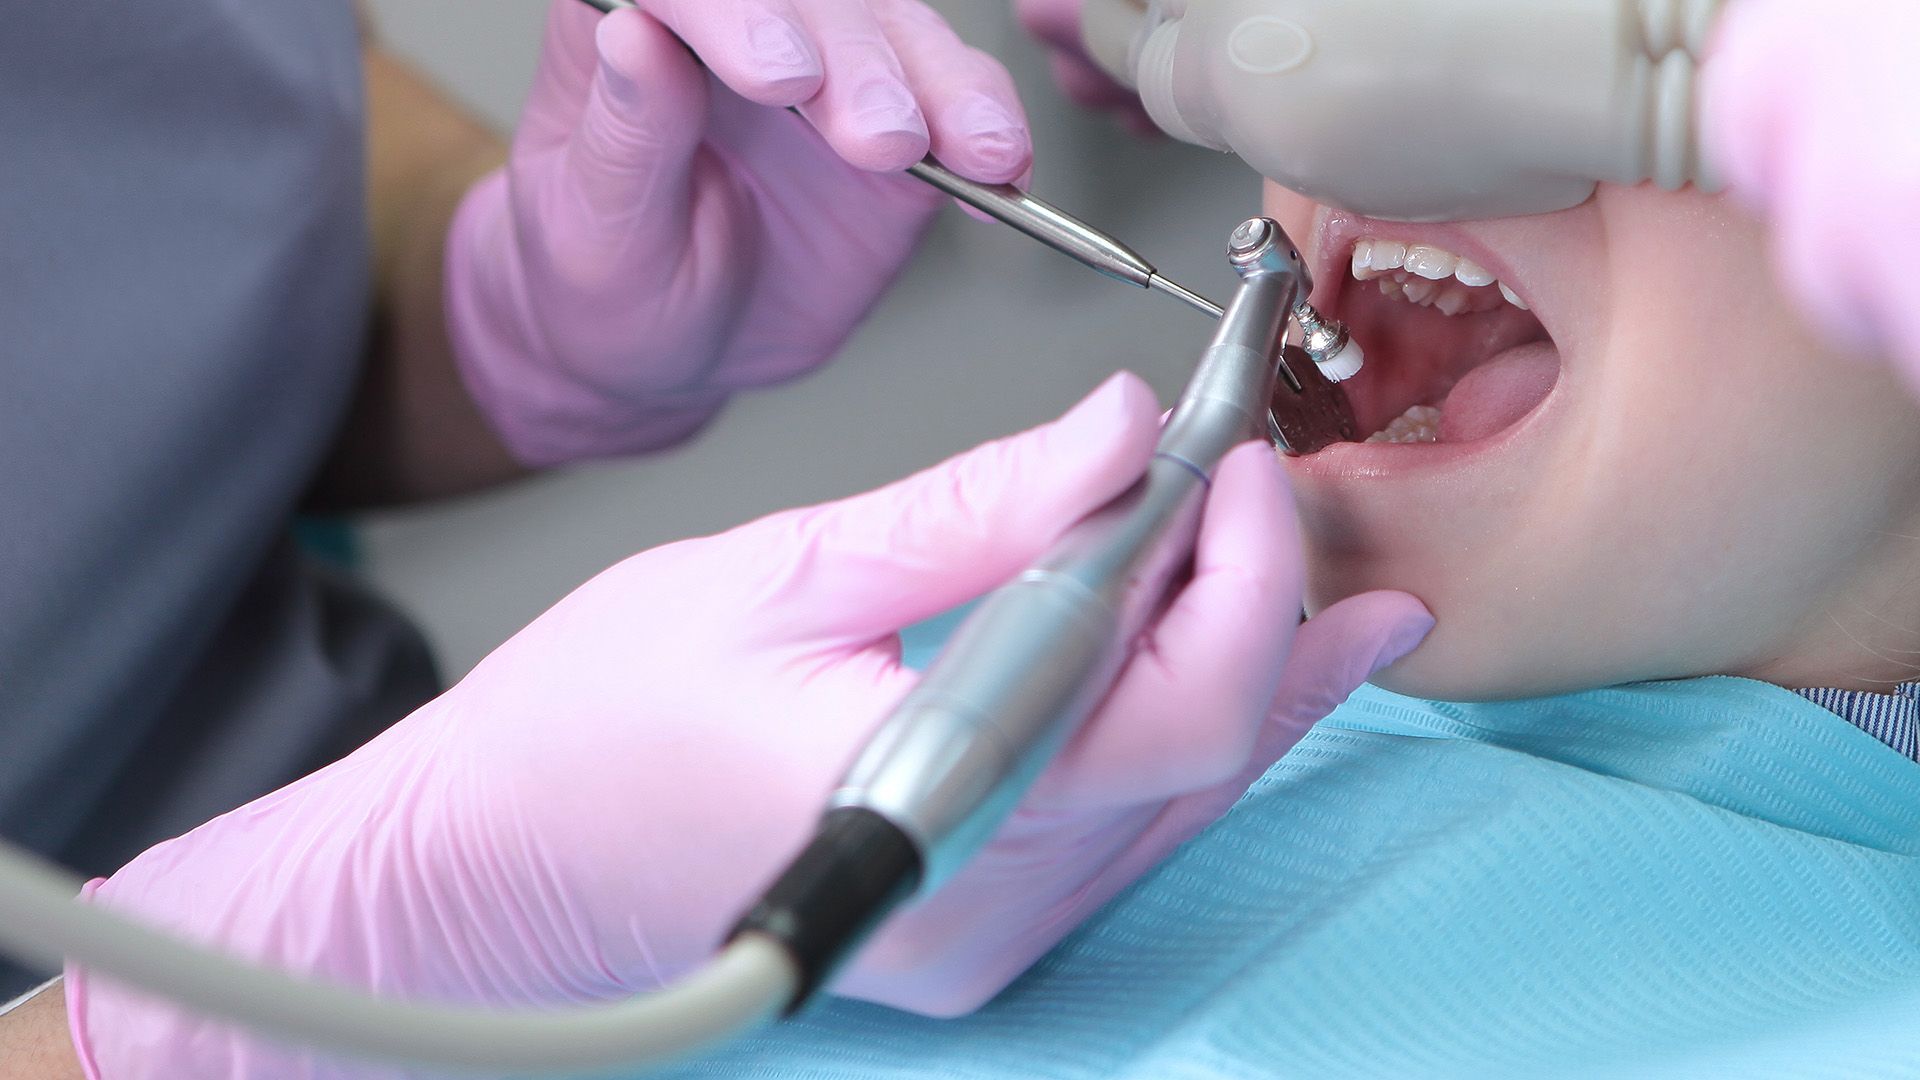
- Gentle cleaning in kid-friendly language: We often describe the tools as “tooth ticklers” and “buzzy toothbrushes.” First, soft plaque and any tartar (hardened plaque) are removed along the gumline and between teeth. Next, teeth are polished with a flavored, gritty toothpaste to make them smooth and shiny, followed by flossing to clean between teeth. We use a show-and-tell approach, let children feel instruments on a fingernail or gloved finger, and offer breaks as needed.
- Fluoride and preventive treatments: Fluoride strengthens enamel and helps prevent cavities. It may be applied as a foam, gel, or varnish; varnish is common for kids because it adheres well and sets quickly. Your child can usually eat and drink shortly after varnish unless the dentist advises avoiding certain foods. Preventive options like dental sealants for molars may be discussed. Sealants are protective coatings that cover chewing surfaces to block food and bacteria. Treatments are safe when used as recommended and tailored to your child’s age, risk, and comfort.
Common Reactions and How the Team Supports Your Child
It’s normal for kids to feel uncertain, wiggly, or curious. Some may have a sensitive gag reflex during polishing or when placing X-ray sensors. We use child-sized tools, adjust positioning, and coach slow nose breathing to reduce gagging. Restlessness is managed with brief, engaging explanations, pauses, and gentle encouragement. Parents are welcome to stay nearby when helpful, though some children focus better with the team alone.
Cleanings should not be painful, though tender gums may feel tickly or slightly sensitive, especially if plaque is present. Our team uses light pressure, child-friendly angles, and hand scaling when needed for comfort. If your child reports sensitivity, we slow down, use topical numbing gels when appropriate, and demonstrate techniques that feel better. After fluoride, teeth may feel squeaky smooth; this is normal.
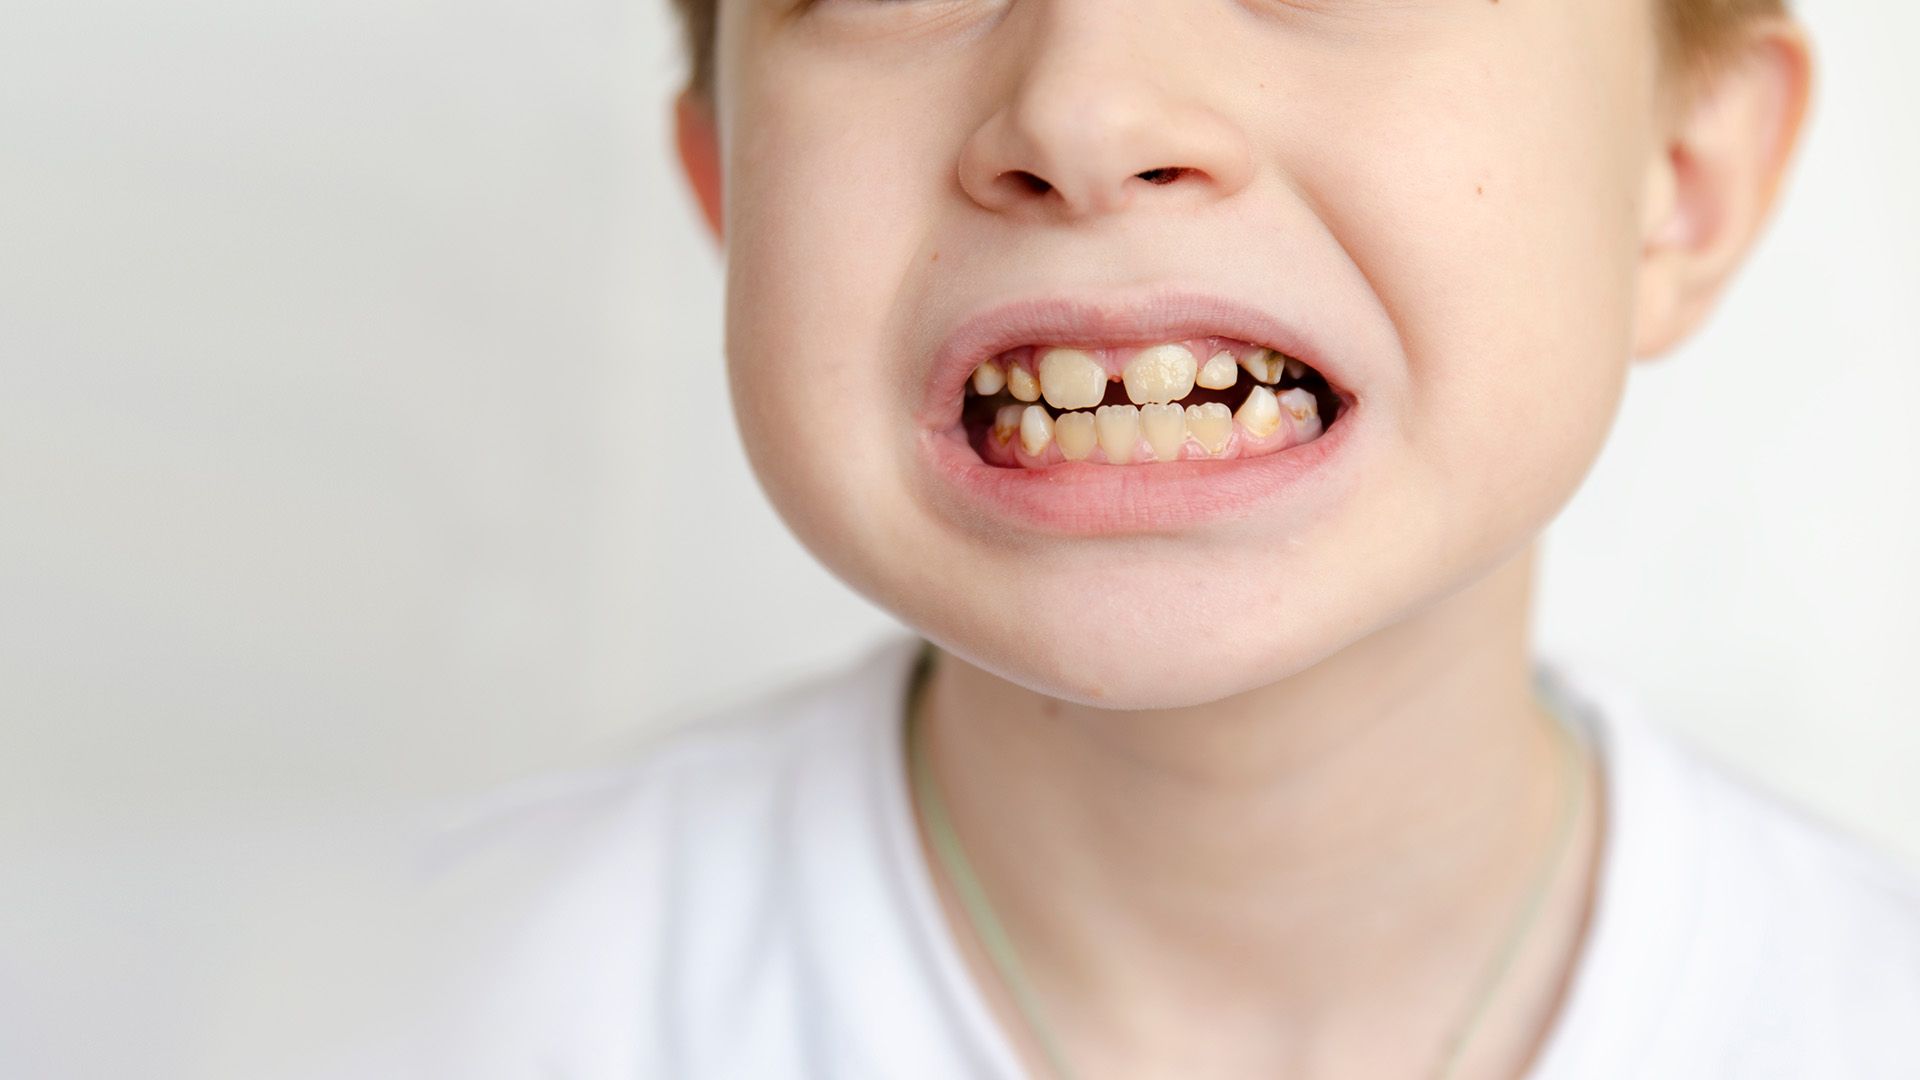
If we see deep grooves, early signs of decay, or gum inflammation, we may recommend sealants, additional fluoride, or changes in brushing and diet. Cavities or developmental concerns could lead to fillings or referrals to specialists, such as pediatric dentists, orthodontists, or ear, nose, and throat physicians for breathing-related issues. We review timing, options, costs, and expected outcomes so you can make informed decisions.
After the Visit: Home Care and Follow-Up
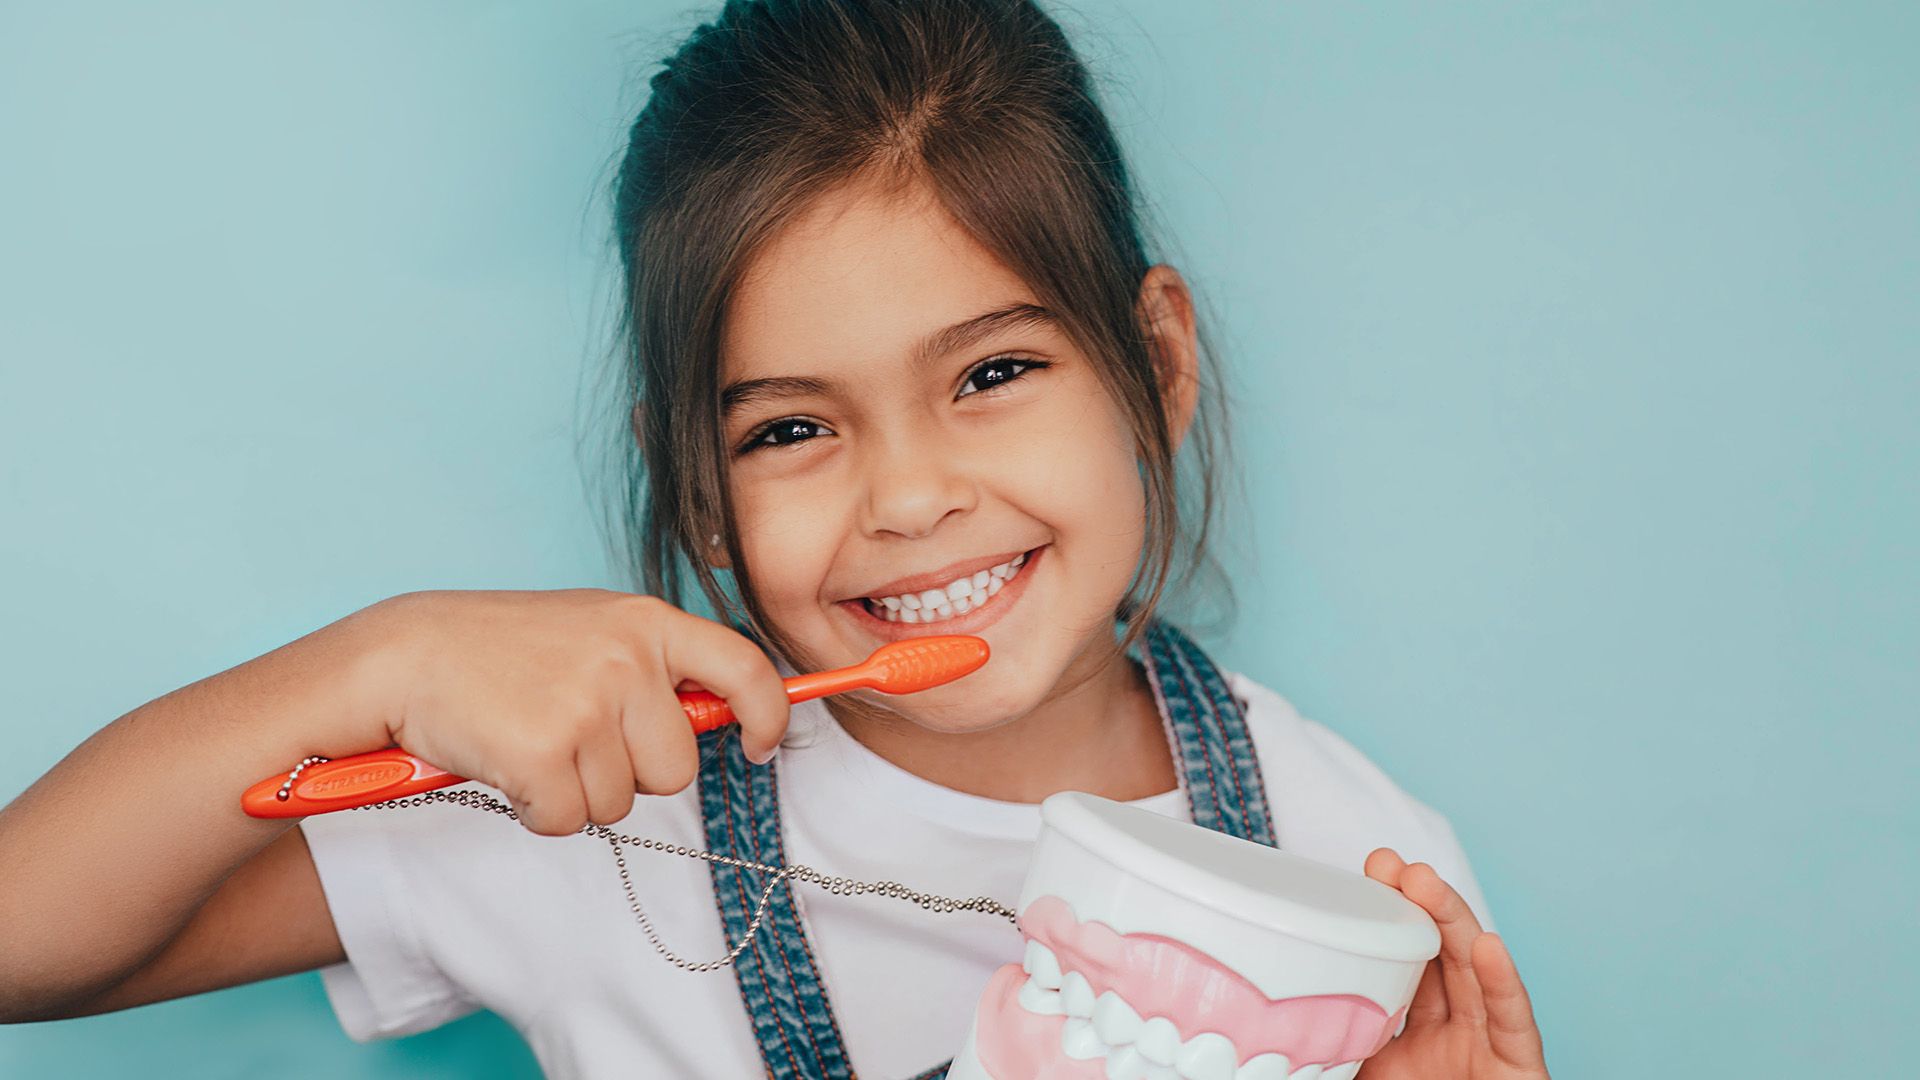
Your child can usually eat and drink right after a cleaning. If fluoride varnish was applied, follow your dentist’s advice, such as avoiding very hot foods and sticky candy for the rest of the day. Resume brushing twice daily with fluoride toothpaste (a smear for under age 3; a pea-sized amount for ages 3 and up) and floss once daily where teeth touch. Praise your child’s cooperation and reinforce any techniques demonstrated during the visit, like gentle circular brushing at the gumline.
Before leaving, schedule the next checkup, typically in six months. Keep notes on new habits, tooth eruption, or any concerns. If X-rays or sealants were placed, record the date and any follow-up recommendations. Tracking bite changes and new molars can help you plan for an orthodontic evaluation, often around age 7.
With consistent routines, encouragement, and regular checkups, most children come to see dental visits as quick, routine, and even fun, building a foundation for lifelong oral health.