What Happens During a Pediatric Dental Cleaning? A Step-by-Step Guide for Parents
Pediatric dental cleanings do more than make teeth sparkle, they build lifelong oral health habits and create positive experiences for kids. Learn what happens during a pediatric dental cleaning as this guide explains each stage so you and your child know what to expect before, during, and after the appointment.
Why Pediatric Dental Cleanings Matter
Routine cleanings remove plaque and tartar that daily brushing can miss, lowering the risk of cavities and gum problems in both baby and permanent teeth. Healthy baby teeth help children speak clearly, chew well, and maintain space so adult teeth erupt in proper positions.
Regular visits also allow the dental team to monitor jaw growth, bite alignment, and habits like thumb-sucking, and to spot concerns early. Addressing issues promptly can prevent pain, infection, and missed school days.
Preventive care pays off. Cleanings, combined with fluoride, sealants, and strong home care, can significantly reduce the chance of cavities, decrease the need for fillings or crowns, and even help avoid some orthodontic complications. Preventing problems early is more comfortable and cost-effective than treating them later.
Preparing Your Child for the Dental Visit
The American Academy of Pediatric Dentistry recommends a first dental visit by age 1, or within six months of the first tooth. Most children benefit from checkups and cleanings every six months, though your dentist may suggest a different interval based on cavity risk, orthodontic considerations, or medical conditions.
Set the tone with calm, simple language. You might say, “The dentist will count your teeth, clean them, and make them shiny.” A quick role-play at home with a toothbrush and mirror can help. Bringing a favorite toy or blanket can provide comfort, and morning appointments often work best for younger children. Avoiding words like “pain” or “shot” will let the dental team introduce procedures with child-friendly explanations.
Come prepared with a list of medications, health history, and allergies, along with your dental insurance information. If your child has special healthcare needs, let the office know in advance so they can plan appropriate accommodations.
Step-by-Step Pediatric Dental Cleaning Process
Check-in includes a brief review of your child’s medical history, medications, and any recent health changes. The dental team will ask about brushing and flossing routines, diet, fluoride exposure, and any concerns you have. The dentist or hygienist will examine tooth eruption, jaw growth, bite alignment, and soft tissues, and may perform an age-appropriate oral cancer screening. Depending on cavity risk and development, they may recommend dental X-rays to assess areas between teeth or monitor growth.
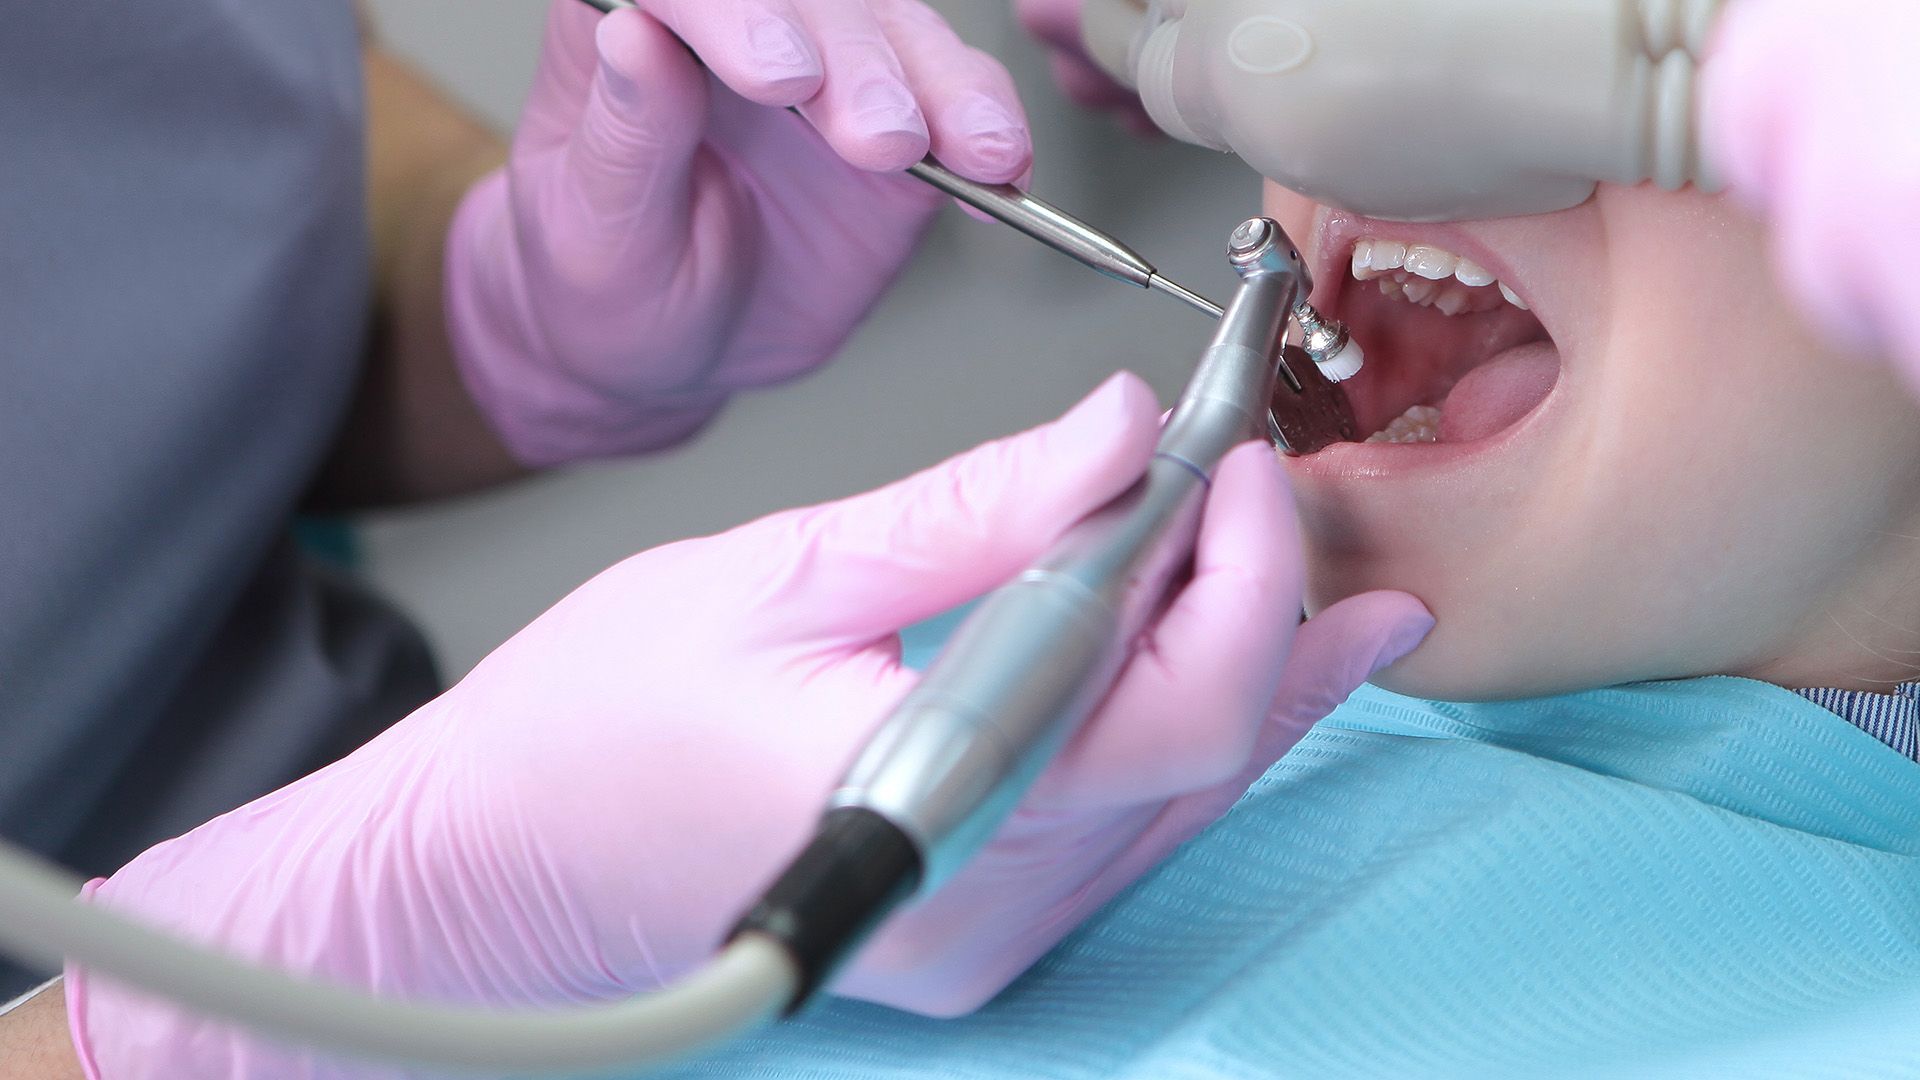
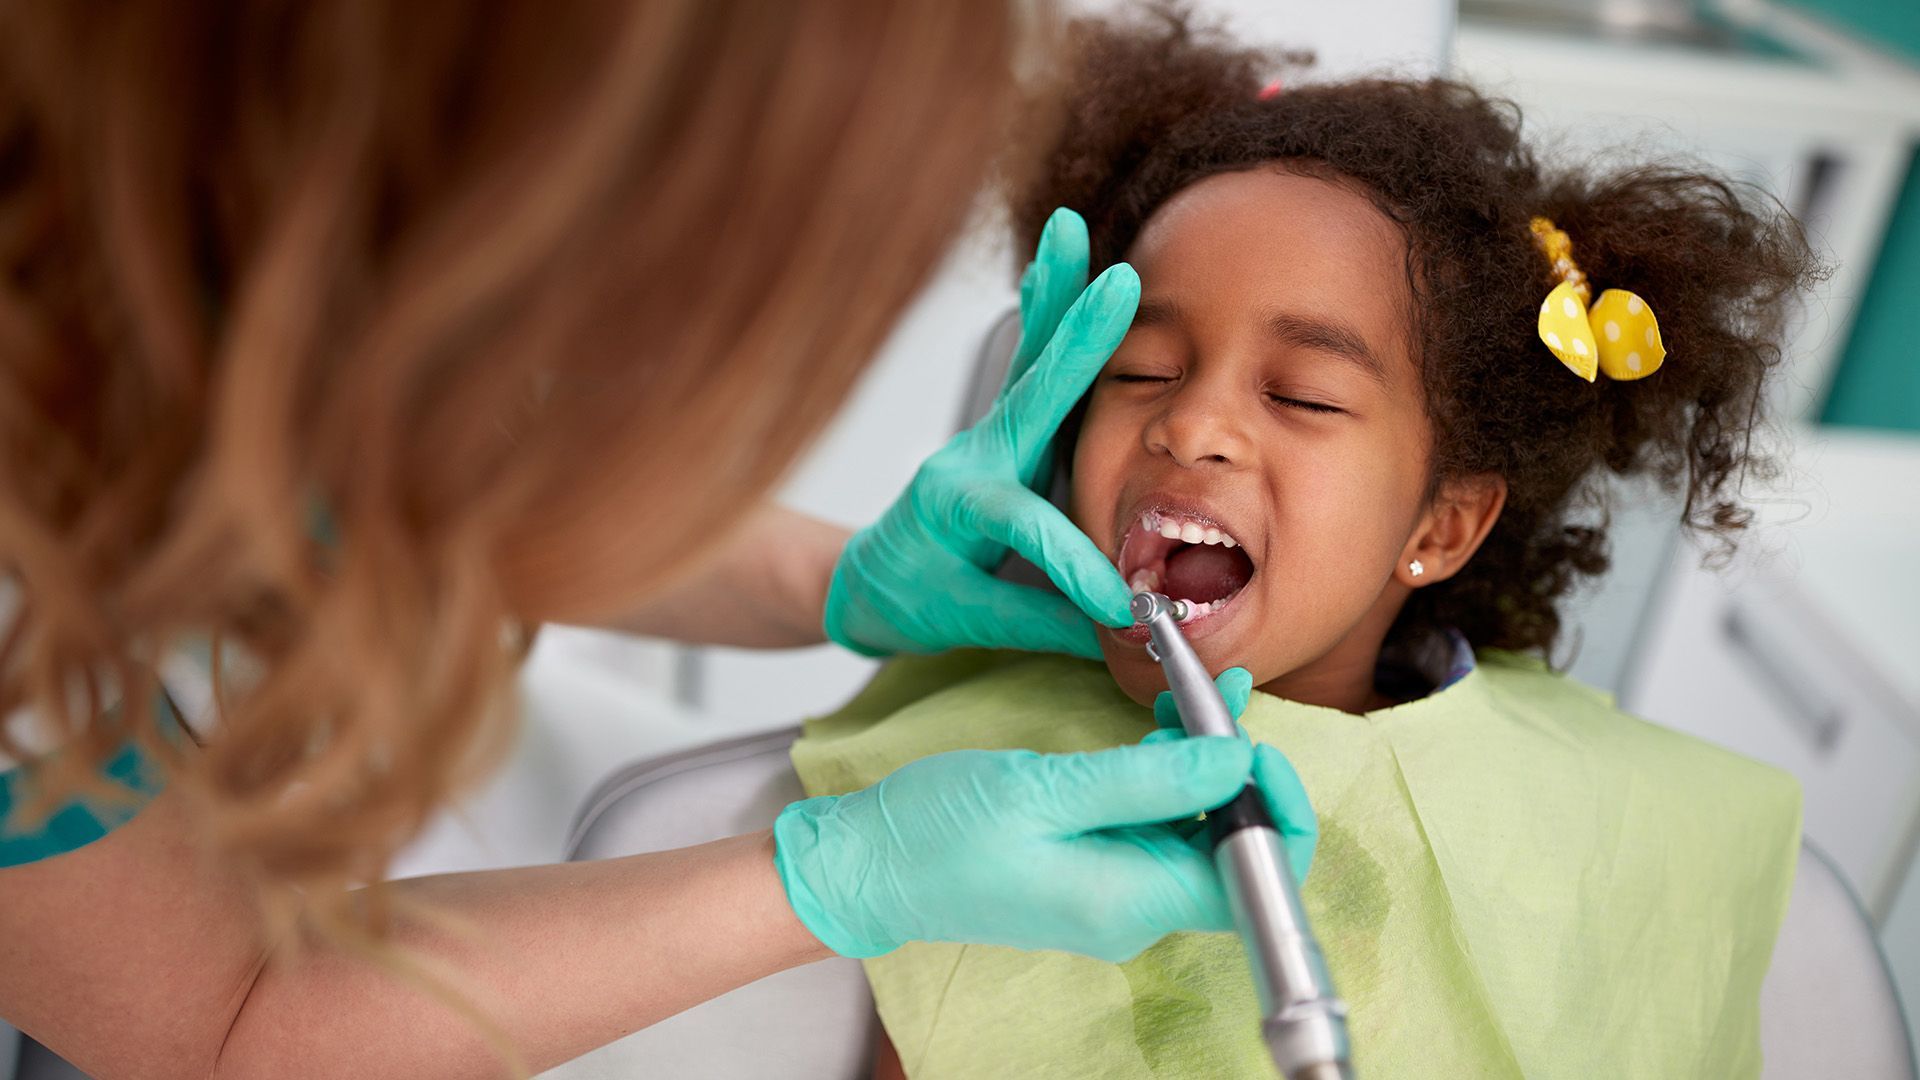
The cleaning itself starts with the gentle removal of plaque and tartar using child-sized instruments or a soft ultrasonic scaler. Teeth are then polished to lift surface stains and smooth the enamel, followed by flossing to clean between teeth. A fluoride treatment is often applied to strengthen enamel and help prevent future cavities.
Your child’s dentist may also discuss dental sealants, thin protective coatings placed on the chewing surfaces of molars where cavities commonly begin. If sealants are recommended, they may be placed during the same visit or scheduled soon after.
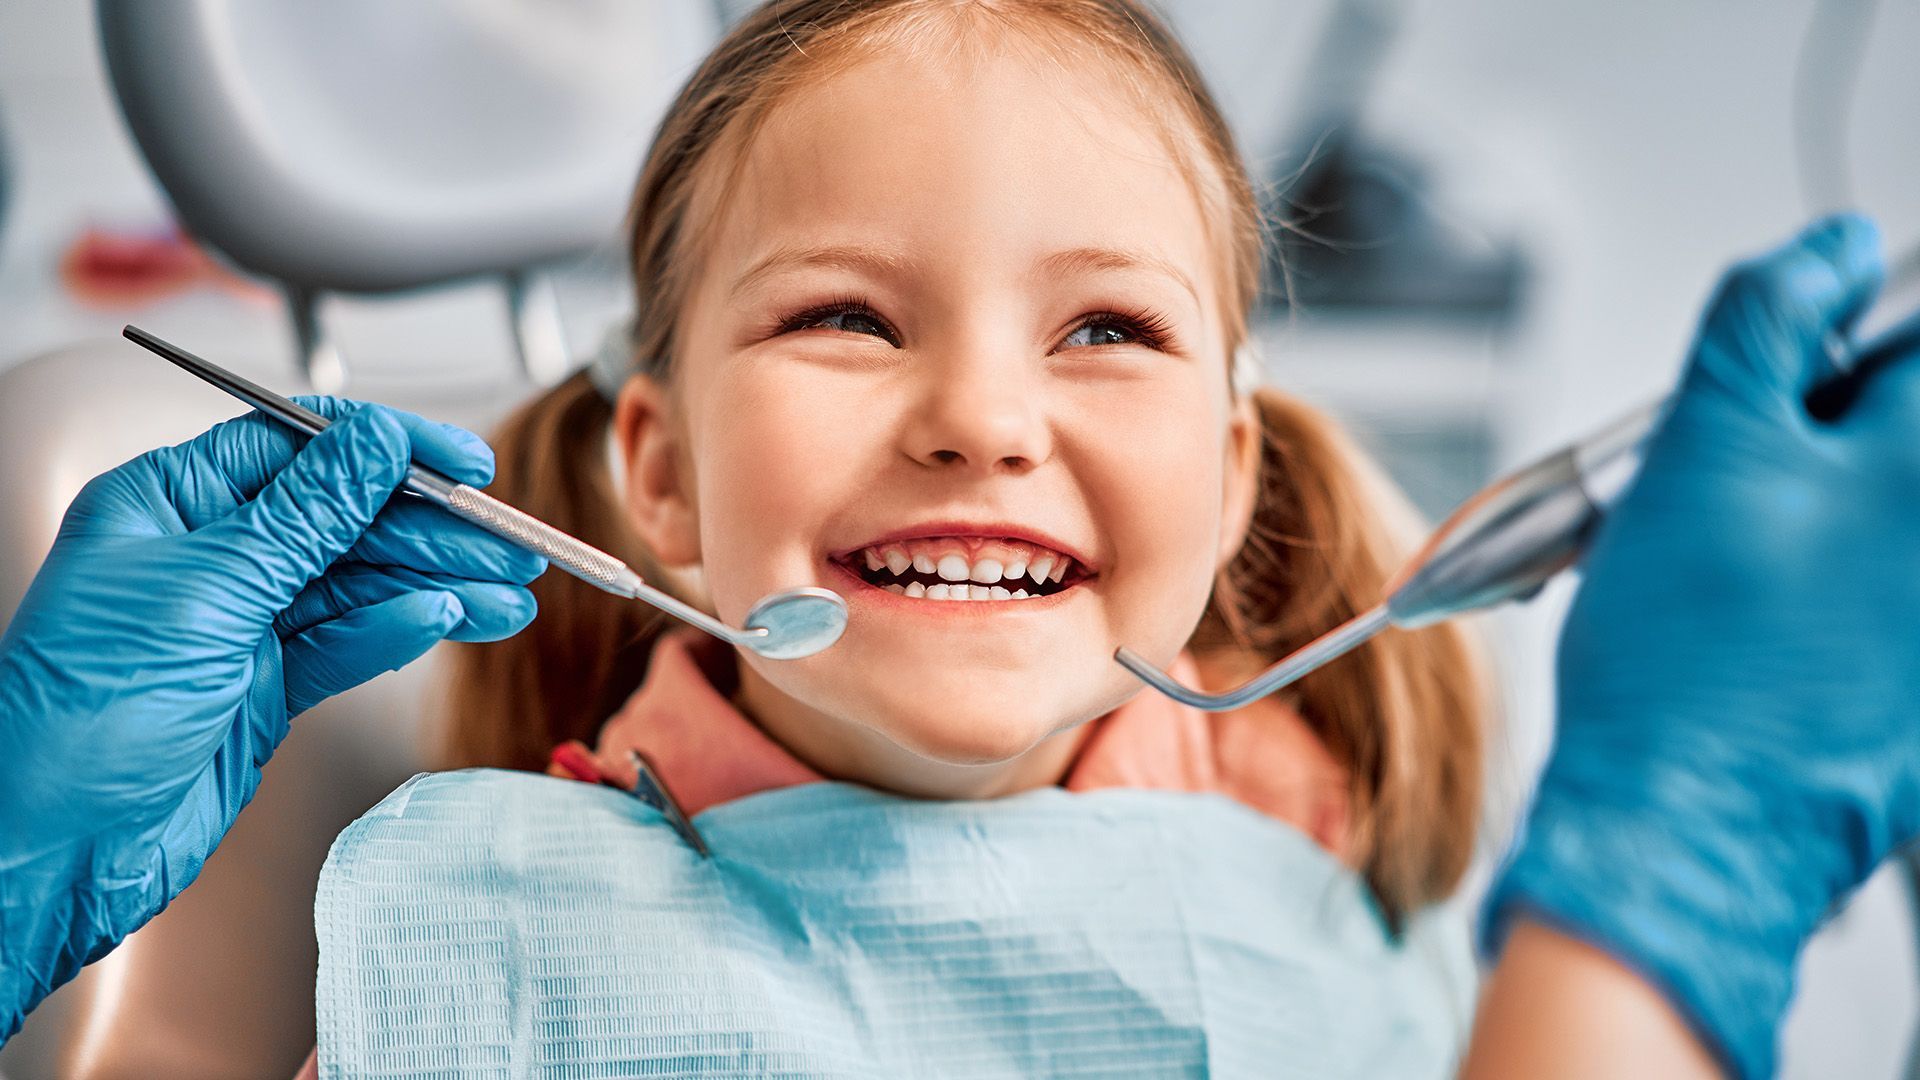
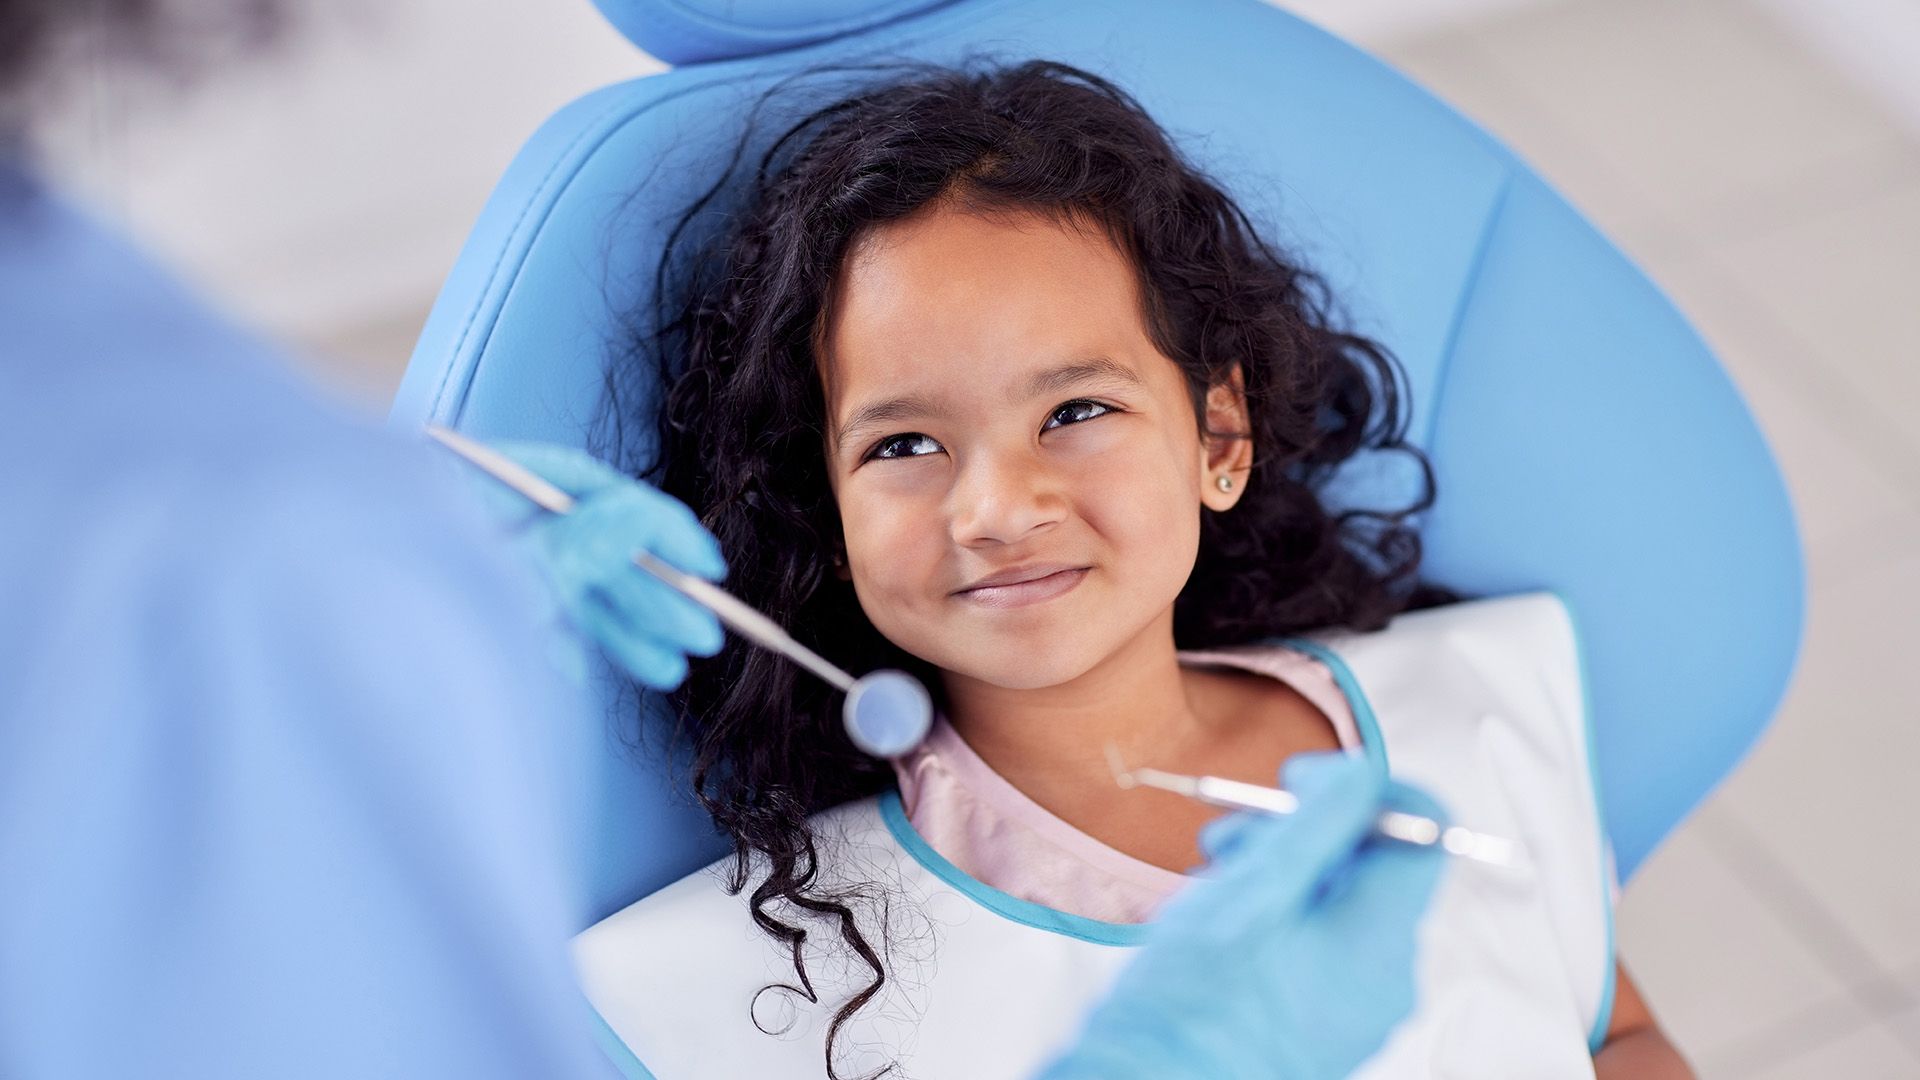
Comfort and safety guide every step. Pediatric teams use age-appropriate explanations, tell-show-do techniques, and positive reinforcement. Tools are sized for small mouths, and safety measures such as protective eyewear and high-volume suction are standard. Practices maintain emergency readiness with trained staff and appropriate equipment. If your child has heightened anxiety or special needs, options like desensitization visits, distraction tools, or, when appropriate, minimal sedation may be discussed to support a calm, positive experience.
Aftercare, Education, and What Parents Should Expect Next
After a cleaning, your child can return to normal activities. If a fluoride varnish was used, avoid sticky or hard foods for a few hours and wait until bedtime to brush unless your dental team advises otherwise. Mild sensitivity to cold may occur and usually resolves within a day or two. If sensitivity persists or pain develops, contact the practice.
Home care should match your child’s age and abilities:
- Infants and toddlers: Brush twice daily with a smear (rice-sized) amount of fluoride toothpaste as soon as the first tooth appears.
- Ages 3 to 6: Use a pea-sized amount of fluoride toothpaste when your child can spit.
- Parental help: Brush and floss for your child until they have the hand skills to tie their shoes or write neatly, often around ages 7 to 8, and supervise thereafter.
- Floss daily wherever teeth touch.
Encourage a tooth-friendly diet by limiting sugary snacks and drinks, choosing water (preferably fluoridated), and offering balanced meals with fruits, vegetables, dairy, and lean proteins.
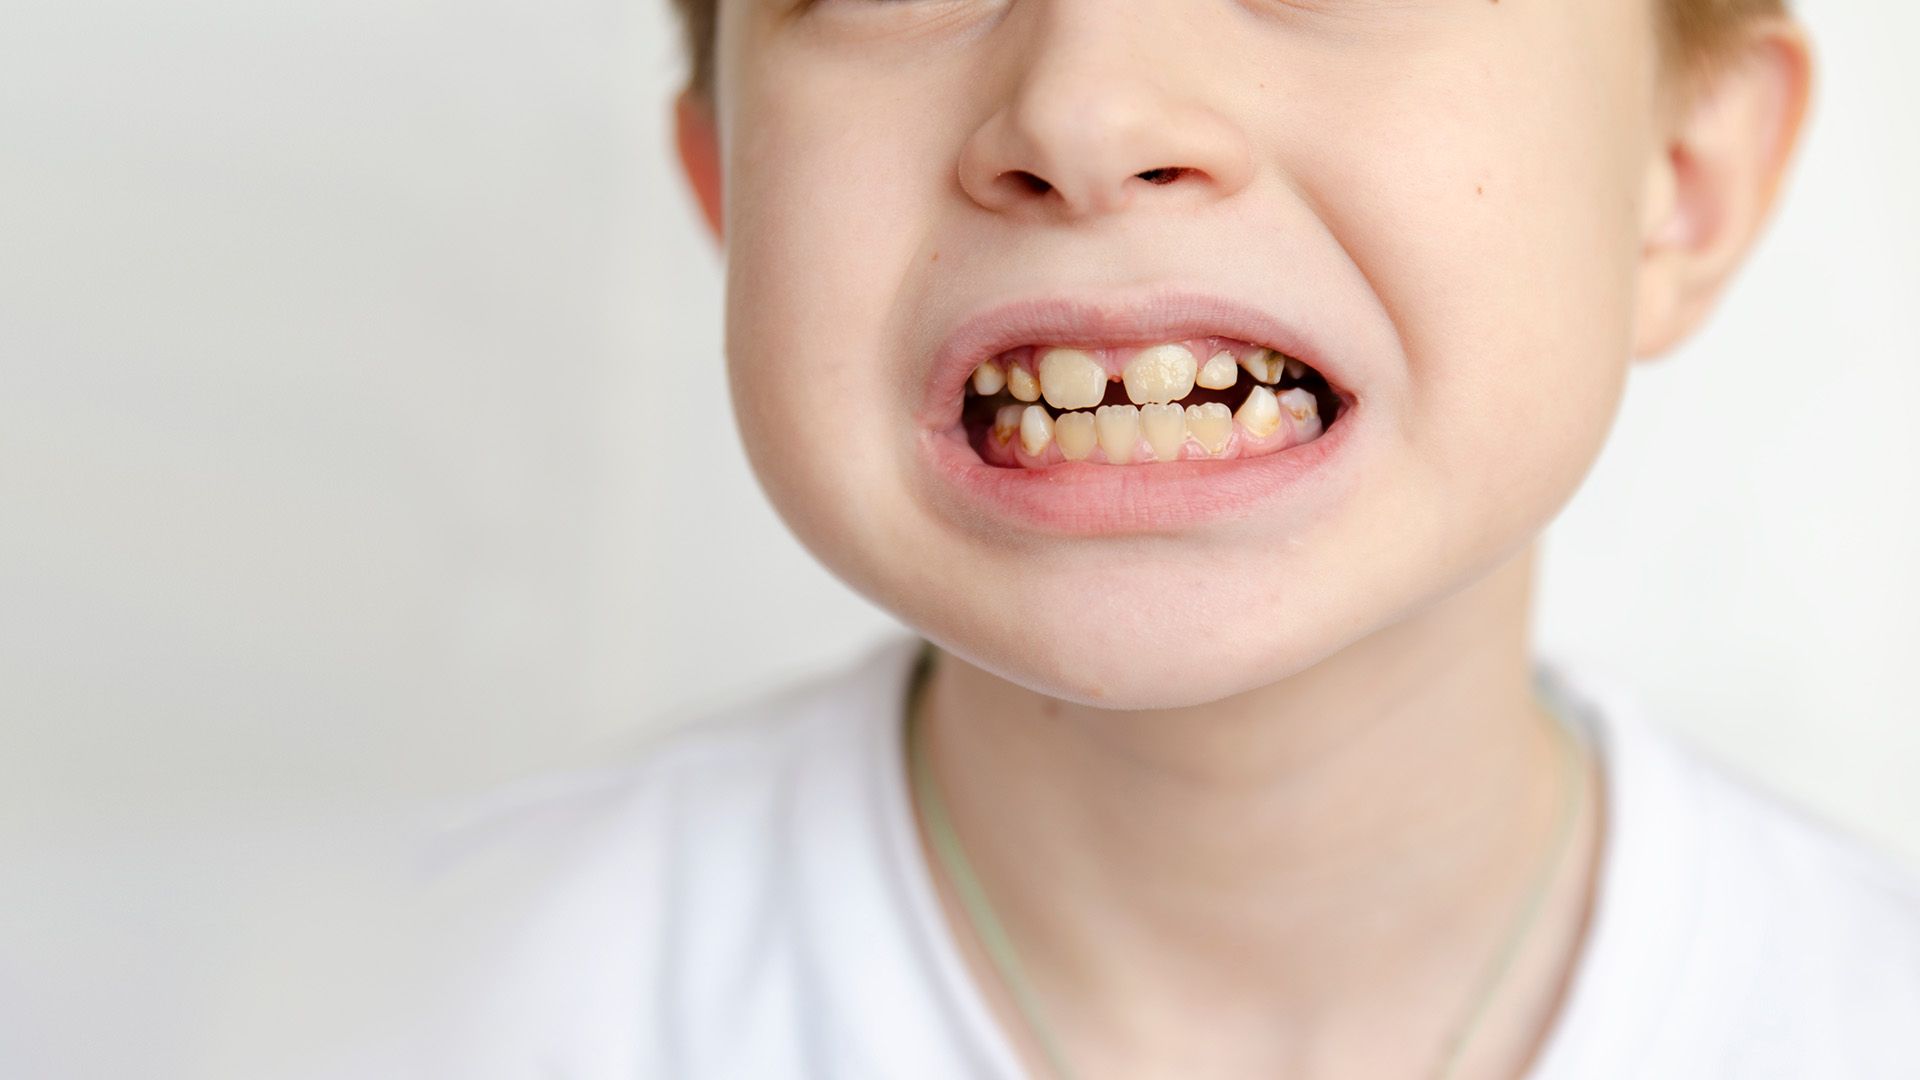
Your dental team will recommend a follow-up schedule, usually every six months. Return sooner if you notice signs such as tooth pain, bleeding gums, swelling, white or brown spots, persistent bad breath, mouth injuries, or changes in bite or speech. If your child receives orthodontic guidance or sealant recommendations, the practice will coordinate next steps and provide specific instructions for those treatments.